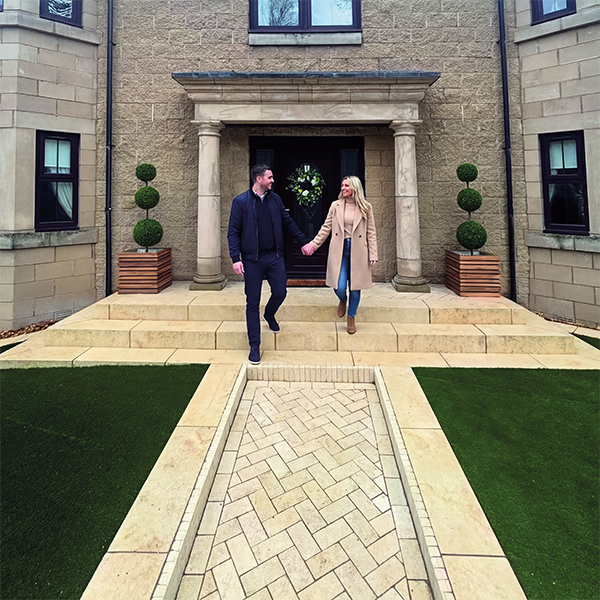
Introduction to Porcelain Paving
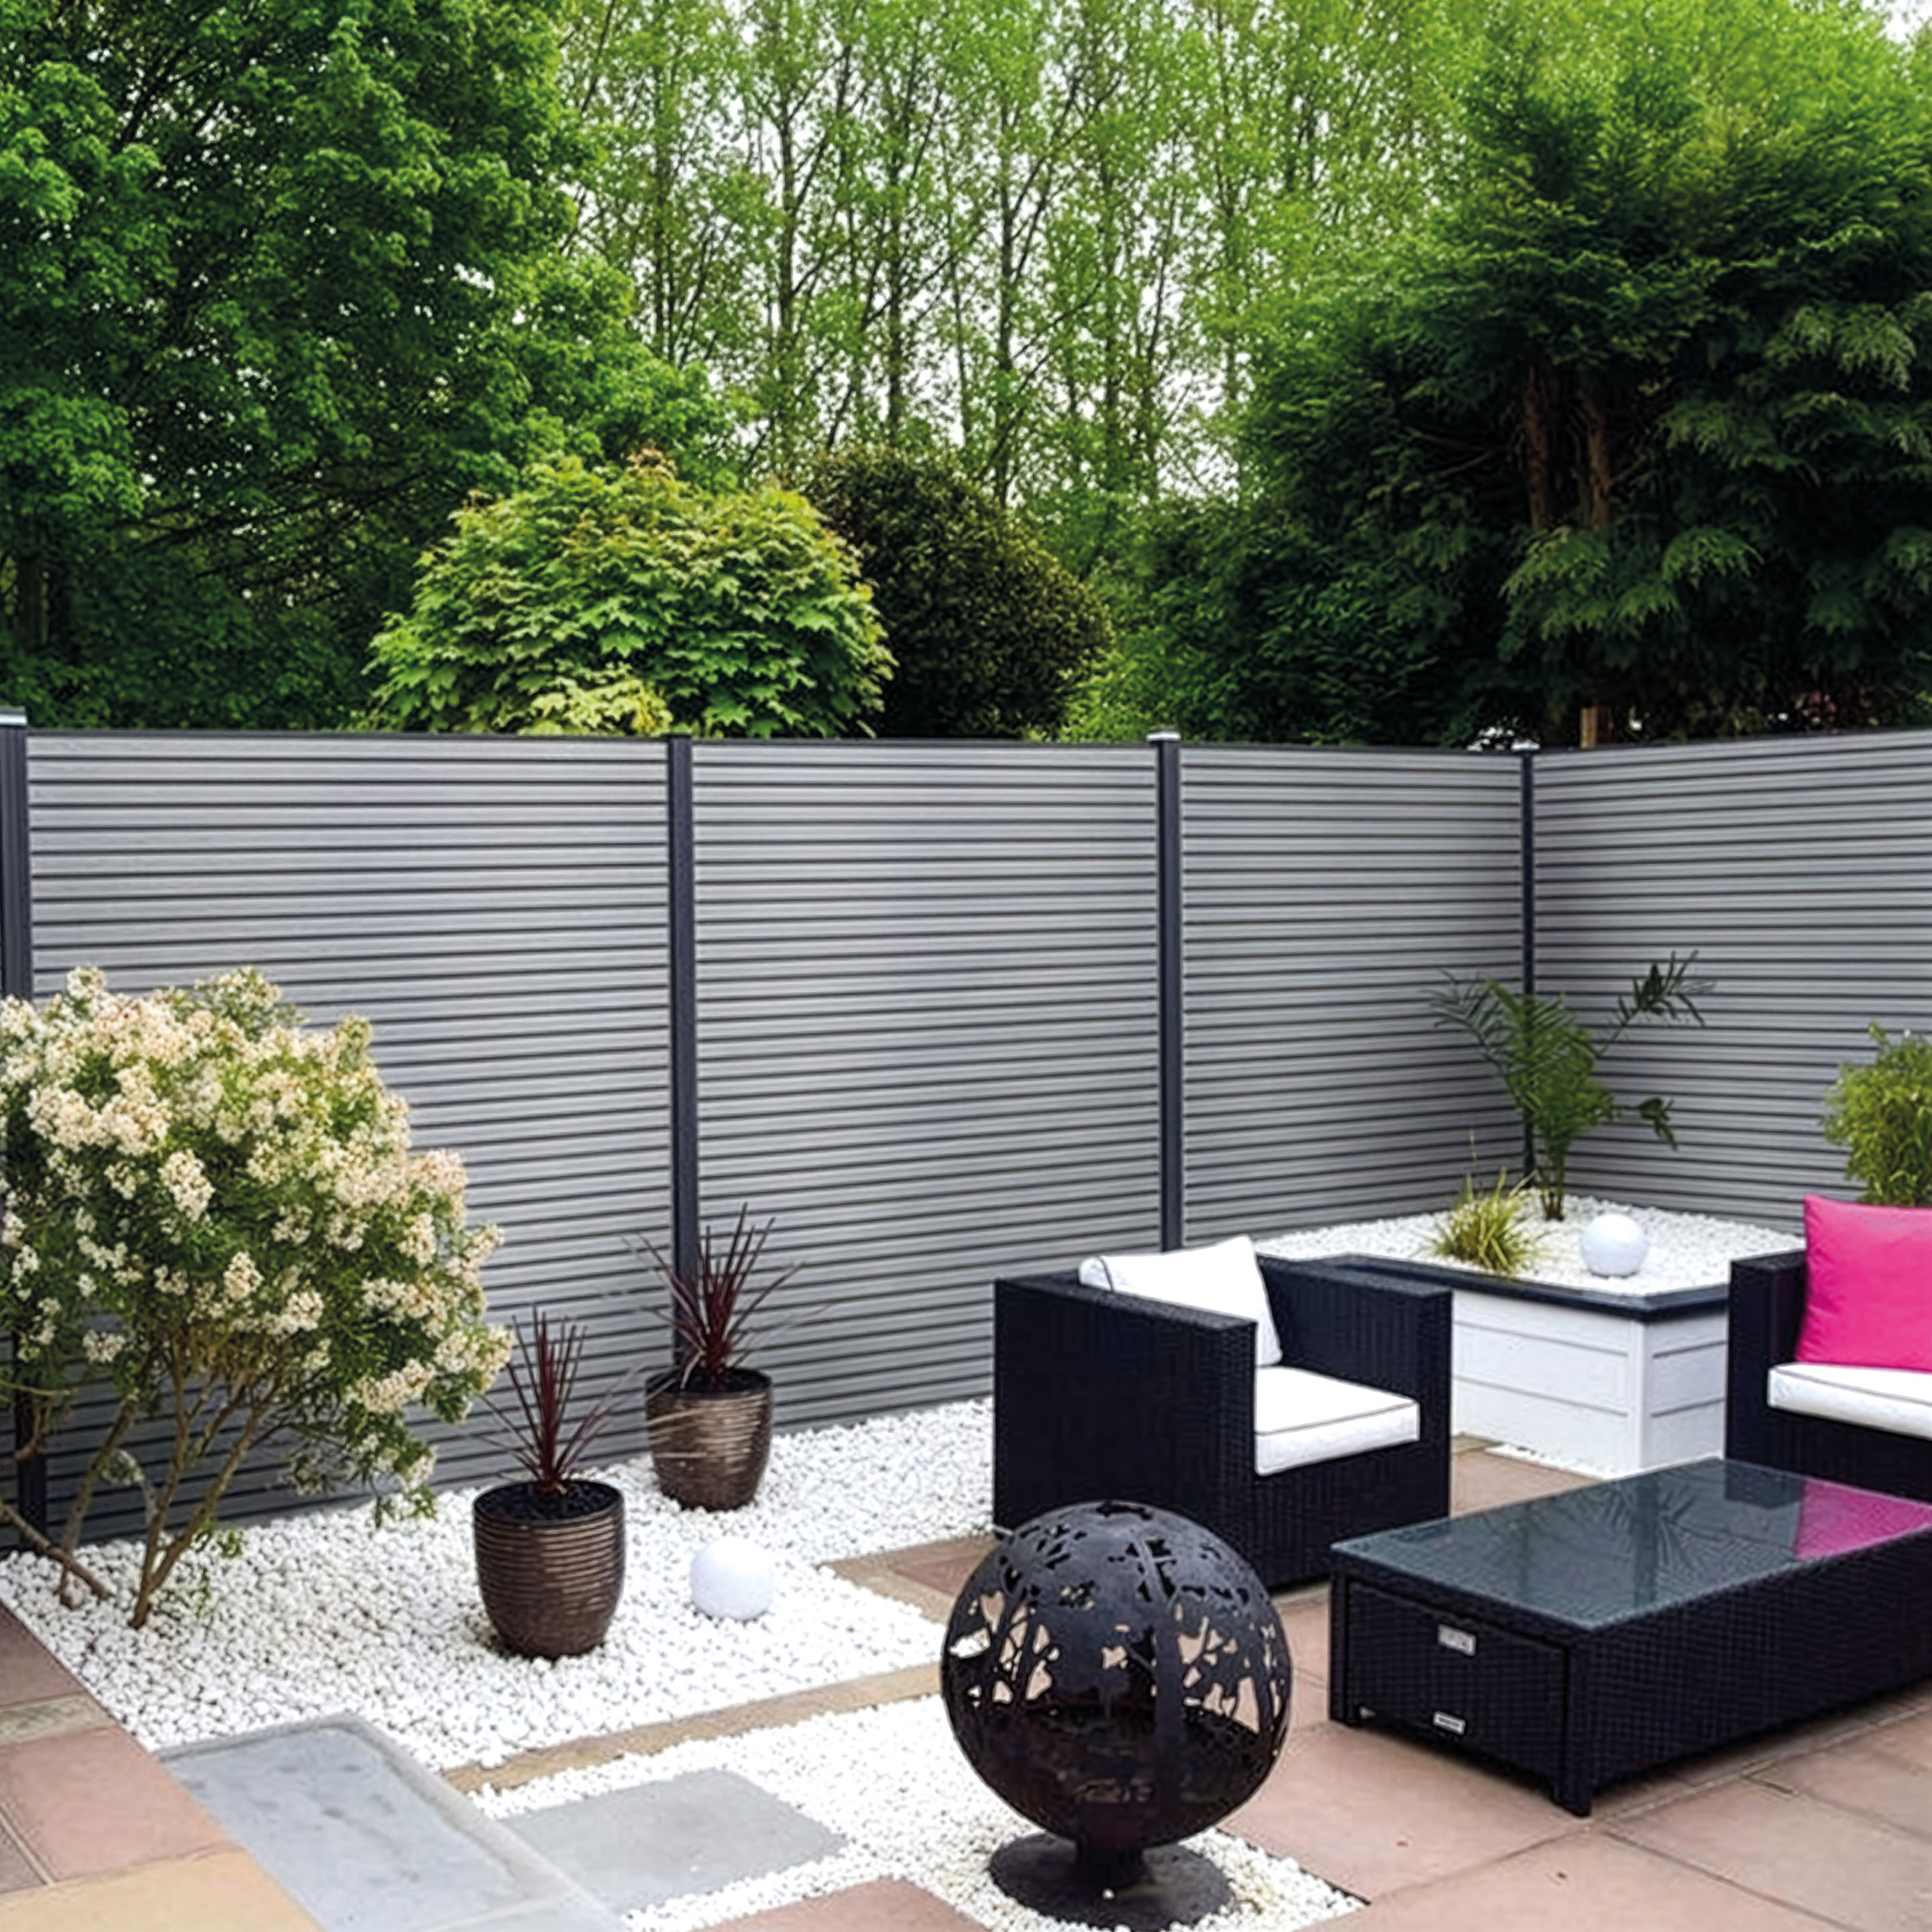
Porcelain paving has become incredibly popular over the last 5 years, especially in weather temperamental climats like we have in the UK. This is due to the sheer amount of benefits porcelain slabs brings to your garden from being a man made product, such as high slip resistance, stain resistance and the pavings stubborn nature to withstand changes in temperature changes without cracking. All this coupled with a low maintenance point has made this paving option very popular HOWEVER, you may be wondering if Laying this option is done differently compared to other natural stone options.
Based on this question alone, we have created a small guide on how to lay porcelain paving slabs.
Disclaimer: The information provided in this guide is for informational purposes only. Paving Stones Direct UK Ltd is not responsible for any damages, injuries, or losses resulting from the use of this information. All actions taken based on the information in this guide are solely the responsibility of the user. It is recommended to seek professional advice tailored to your specific circumstances before undertaking any project.
Step 1: Planning and Gathering
To make sure your project moves forward without a hitch, it’s essential you have a clear plan and vision in place. This includes ensuring necessary materials and tools have been gathered. Here’s a list of what you will need:
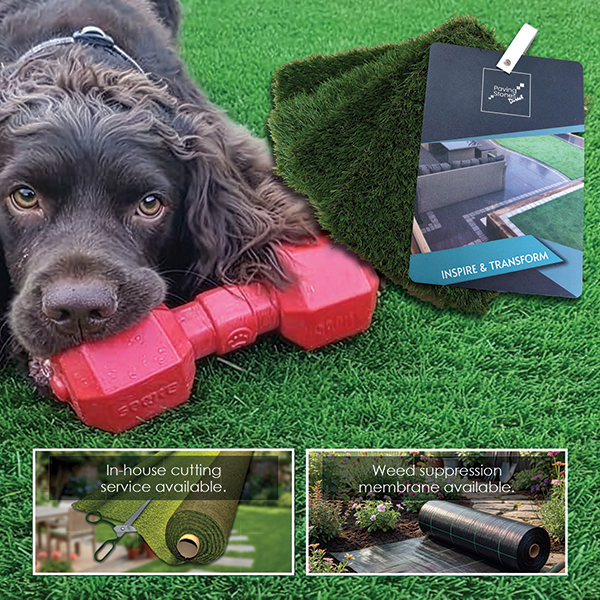
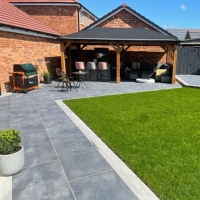
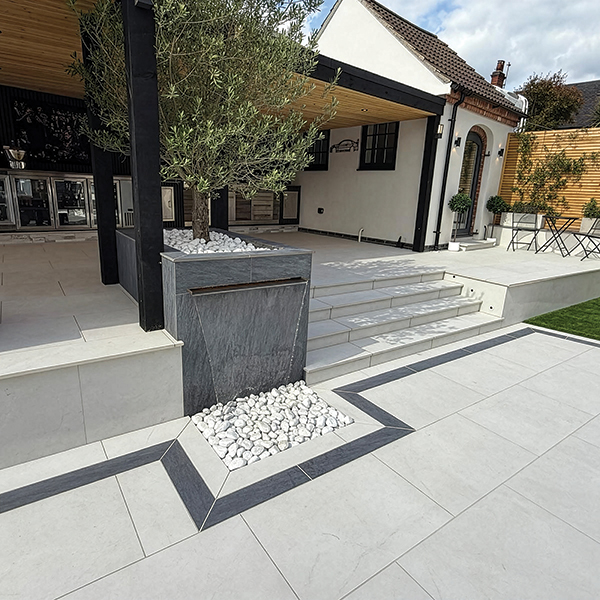
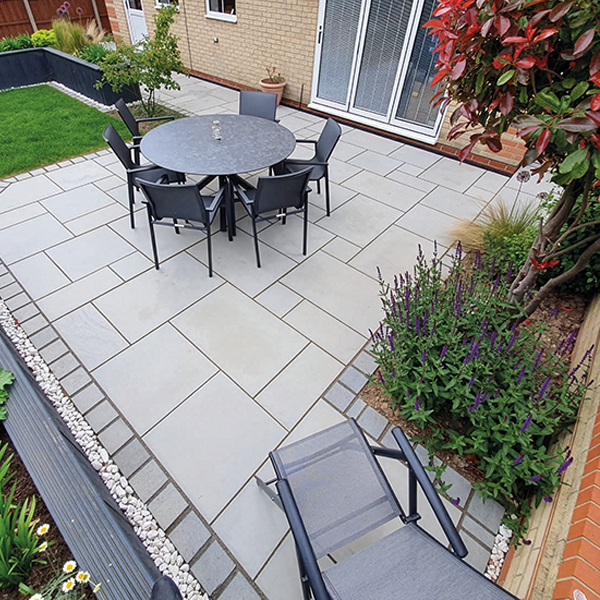
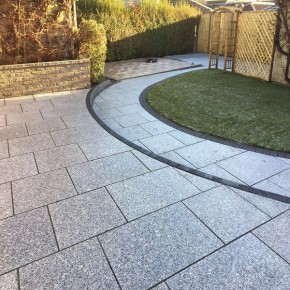
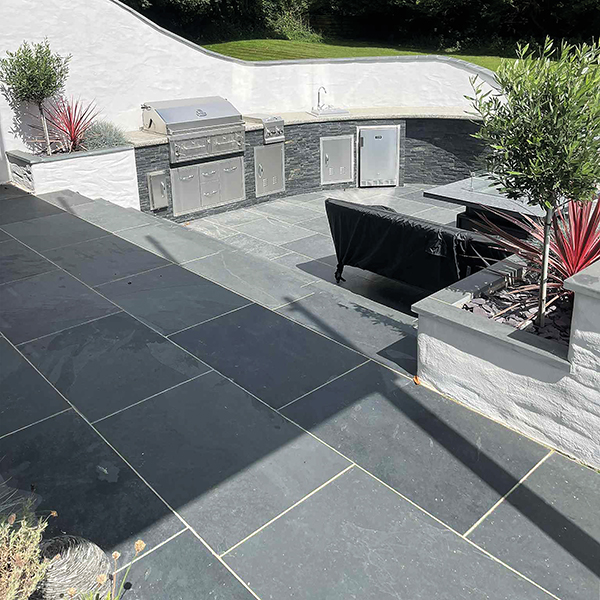
- Porcelain Slabs: The most important component of your plan. Choose slabs that are suitable for outdoor use and for the best performance, aim for 20mm thickness for durability. If you want to see what's available, check out our HUGE selection of Porcelain Paving.
- Mortar Mix and/or tile adhesive: This is based on your preference and conditions of your project.
- Spacers: Spacers are used to ensure the gaps between the slabs are even and level.
- Spirit Level: To help ensure the porcelain paving is level and remains level during the entire project.
- Trowel or Similar: You’re going to need tools for spreading the mortal or adhesive so this is your best option.
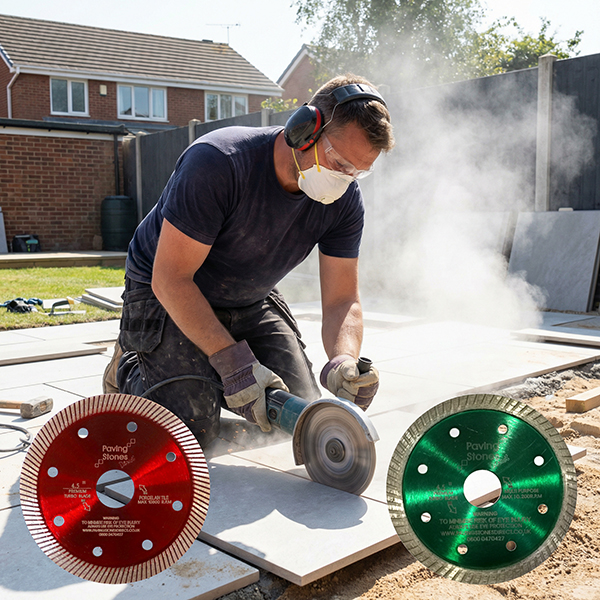
- Diamond Blade Saw: There is a good chance that you may be required to cut the porcelain for those tight corners or drainage. A standard saw blade won't cut it so a diamond blade saw is needed for these precise cuts.
- Grout: This is used for filling the gaps between the slabs and helps increase overall durability. The best thing about this is, we have multiple grout options and colours so choosing the grouting for your garden that matches your vision couldn’t be simpler.
- Rubber Float: This is used for applying the grout.
- Rubber Mallet: This is to help the slabs become bedded into the mortar (mix).
Once you have everything you need for laying your porcelain paving, the next step is to start your ground prep work.
Step 2: Preparing the Ground
Like most things in development, preparing your foundation is vital to help ensure the success of your project. Follow these steps:
- Clear the Area: Ensure the area is clear of obstacles. This includes debris, old paving materials and vegetation. You want a ‘blank canvas’ to work with.
- Ensure Proper Drainage: You want to avoid pooling at all costs so the best way to do this is to make sure the ground slopes away from any buildings. A lope of 1:80 is usually enough but do your homework first.
- Compacting the Soil: Now this is a fun bit. Using a plate compactor to press the soil into a solid base. This will prevent future shifting or settling.
- Lay a Sub-Base: Add a layer of crushed stone or gravel. This should be around 4 - 6 inches thick and compacted well. Especially important if the ground is soft or unstable.
Step 3: A Stable Base
Building on the importance of a stable base from step 2. The stability of your base is critical for helping the durability of the porcelain paving. Depending on the method and or the ground you are laying the paving on, these are the types of bases:
- Screed: If you are looking for a very level finish, mix sand and cement to a screed and apply it evenly.
- Mortar Mix: This traditional method uses a mix of sharp sand and cement (usually 4:1 ratio). Spread the mix over the sub-base and ensure it is level throughout.
- Tile Adhesive: This option is especially useful for laying slabs on concrete. The tile adhesive needs to be suitable for outdoor use and the thickness of the paving. Make sure to follow the manufacturer's instructions for mixing and application.
Step 4: Mixing & Applying
Using your chosen method for a stable base, mix the mixture according to the manufacturer's instructions. This should be thick enough to hold it’s shape but still workable. Spread evenly over the prepared base using your trowel. Make sure to only cover a small area at a time to prevent the mix from drying out before the slabs are laid.
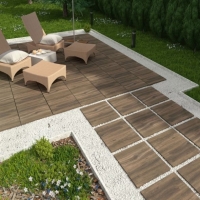
Step 5: Laying of the Porcelain Paving Slabs
Start laying your slabs, ideally from a fixed point that can be used as a reference such as a wall or the edge of the patio and, if at all possible, starting in a corner. Here’s how to do it:
- Placing the first slab: Set the first slab onto the mortar (mixture) bed, pressing the slab down firmly.
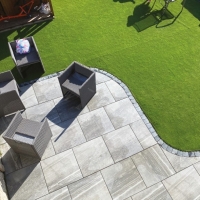
- Spacers: Moving on from the first slab, place spacers between each paving slab to ensure even gaps from the grouting.
- Check the level: Using your spirit level, place it on the slab(s) to ensure they are level. Adjust as necessary by gently and lightly tapping the slabs with a rubber mallet.
- And Repeat: Repeat the process from points 1 to 3 for the remaining slabs. Make sure you keep checking the level and alignment regularly as you progress with the build.
Step 6: Cutting Paving to Fit (If Necessary)
You may come to a point in your project where the slabs are not the right shape and need to be cut to help finish the design. This usually occurs to fit around edges or obstacles. Use a diamond blade saw for clean, precise cuts. Always remember to wear safety goggles and gloves while cutting any porcelain slab.
Measure carefully and map out the cut lines with a pencil or chalk so you know exactly where to cut.
Step 7: Grouting your Paving Slabs
Between 24 to 48 hours, the bedding mix has usually set so now is the time to grout the joints, adding even more durability to the porcelain patio:
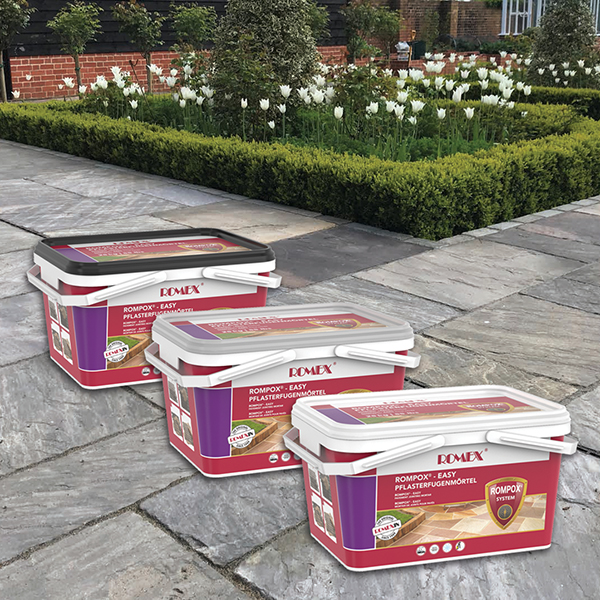
- Mix the Grout: Follow the manufacturer's instructions for mixing the grout. If you are using Rompox from Paving Stones Direct, most of our grout mixes only require water and can be mixed in the bucket the mixture comes in.
- Applying the Grout: Using a rubber float, spread the grouting over the surface of the paving, ensuring it is pressed into the gaps between the slabs. During this process, ensure the mixture remains wet so it doesn’t dry before it has been properly allocated.
- Clean Away Excess Grout: Using a damp sponge, wipe away any excess grout from the surface of the slabs before it dries.
- Setting: Allow the grout to set according to the manufacturer's instructions. This typically takes 24 to 48 hours, subject to weather conditions.
Step 8: The Finishing Touches
After everything has set, clean the surface of your new porcelain paving patio, removing any grout haze. To do this, use a mild detergent and water for cleaning. This final step ensures your patio is ready for you to enjoy while looking its best.
Maintenance Tips for Porcelain Slabs
To ensure your porcelain slabs remain in excellent condition for years, follow these maintenance tips:
- Regular Cleaning: Sweep the surface regularly to remove dirt and debris. For deeper cleaning, use a mild detergent and water. Avoid using harsh chemicals that can damage the grout or the slabs.
- Address Spillages Promptly: While the non-porous nature of porcelain paving means it has stain resistance, this doesn’t mean there won't be repercussions if you simply don't act. If you notice any stains, clean them as soon as possible to prevent them from setting.
- Inspect Grout Joints: Regularly inspect the grout joints for any cracks or damage. Repair any issues promptly to prevent water ingress, which can weaken the base and cause the slabs to shift.
- Winter Care: The R11 rating means you will more than likely won't need to take precautions however, if you would prefer to take extra precautions, avoid using salt for de-icing chemicals on porcelain slabs as they can cause damage. Instead, use sand or cat litter for additional traction.
Bonus FAQ
To ensure we have covered as much as possible, here is a bonus FAQ for some of the more popular questions.
Can You Lay Porcelain Slabs on Sand and Cement?
- Yes, porcelain slabs can be laid on a sand and cement mix. This method provides a strong and durable base, especially for outdoor installations. Mix sand and cement in a 4:1 ratio for optimal results.
How to Lay 20mm Porcelain Tiles
- To lay 20mm porcelain tiles, first ensure the base is stable and level. Use a suitable mortar mix or tile adhesive, and carefully place each tile, checking for level alignment. Allow for proper spacing between tiles for grout.
How to Lay Porcelain Slabs on Concrete?
- When laying porcelain slabs on concrete, clean and level the concrete surface. Apply a suitable tile adhesive and place the slabs, ensuring each one is firmly set and level. Use spacers to maintain even gaps.
Can You Lay Porcelain Slabs on a Dry Mix?
- Porcelain slabs can be laid on a dry mix, though this is less common. The dry mix should be a combination of sharp sand and cement. The slabs are laid directly on the mix and tamped down to secure them in place.
How to Lay Porcelain Slabs on Soil?
- Laying porcelain slabs directly on soil is not recommended due to instability. However, if necessary, the soil must be thoroughly compacted and a suitable base material like gravel or sand should be used to provide support.
Paving Stones Direct
We firmly believe in giving our customers the best experience possible, so that is why we strive to provide the best quality porcelain paving at the lowest prices, all while providing support and advice. If you require any information regarding porcelain paving stones or anything else, please give us a call on 0333 321 5091 or email us on sales@pavingstones.co.uk.


.jpg)