Take a look at our available How To Guides & Videos to help you with your paving stones installation and maintenance, ensuring the best possible finish for your product.
Tools needed to lay my patio?
A shovel
Pick axe
Rubber mallet/Dead blow
String line
Spirit level
Pointing trowel
Appropriate safety precautions PPE should be used and can be identified doing a simple risk assessment and method statement. If excavating, it's good practice to dig small test holes or use cable avoidance tools to locate any services. Also, it's good practice to do a visual inspection for any signs of services within the designated area.
Patio Sub Grade
If you are laying directly next to a house then the finished patio should be at least 150mm below the damp proof course. So in essence, dig out the area to a minimum depth of 300mm below the damp proof course.
It’s good working practice to compact the surface of the sub grade with either static or vibratory compact equipment. To ensure that water does not collect on the paving, the install needs to have a fall of 1 in 60, which means one centimetre of fall for every 60 centimetres of width. Ideally falling to storm drainage collection channels, planters and verges will surface as long as they drain freely.
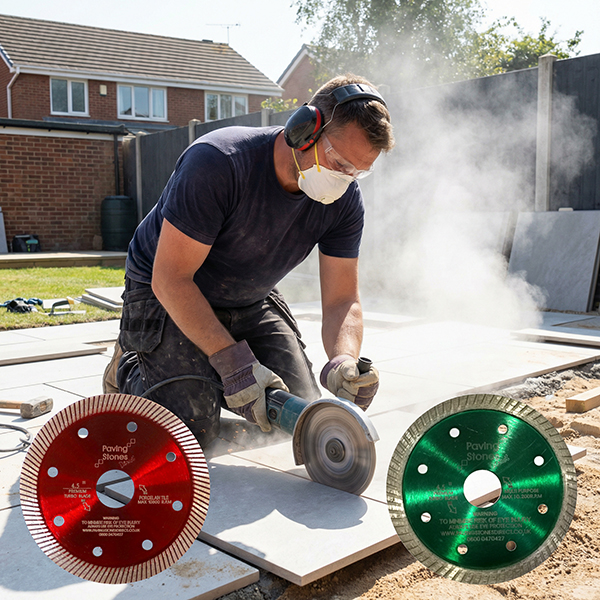
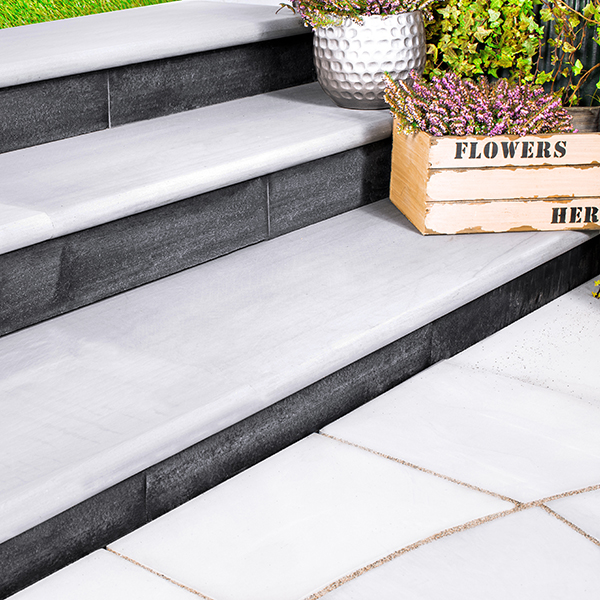
Bedding - Laying Porcelain Paving
Full wet bed: best practice on type 1 subbase
This procedure consists of placing the tiles onto a levelled-out bed of standard sand/cement mortar, prepared to a wet consistency. The mortar bed needs to be a 6:1 or stronger mix of grit sand with cement depth of 20mm to 40mm thick.
Thin bed adhesive: best practice on concrete.
This method substitutes the sand cement for an outdoor grade polymer – modified cement. It is common in hotter climate outdoors but not as a standard practice here in the U.K.
A primer should be applied to the underside of the tiles prior to placement, to ensure there is full adhesion between paving and bed. Tile spacers are a must in keeping the paving uniform.
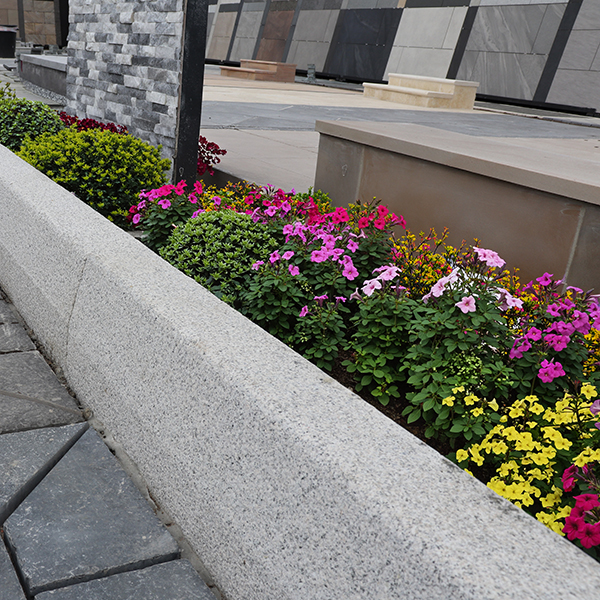
Patio Colours
It is best practice to open all of the packs being used for a project before yourself or landscaper starts laying the paving, this therefore ensures all the colours can be blended in naturally to create a beautiful patio. All products may have slight colour variations with tones and patterns. Porcelain batches may vary so please ensure all goods are from the same batch prior to laying.
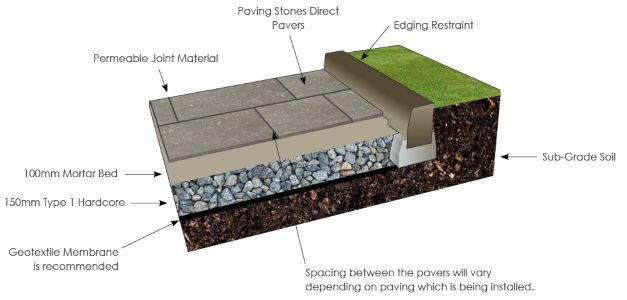
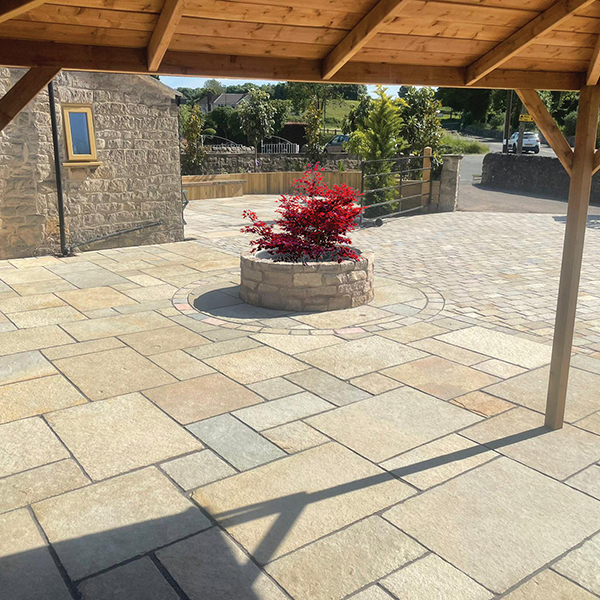
Garden Patio Construction
Ground preparations for natural stone and porcelain paving are almost identical. Construction components consists of:
Paving course
Bedding course
Subbase
Sub grade
Patio Subbase & Geo Textile
Sometimes overlooked on its importance but choosing the correct sub base is essential in how the patio will perform later on. Geotextile should be rolled out over the area of the patio and cut to the cover the total area. A misconception is that it’s main function is to prevent weed growth. But its main purpose is to stop the sub base migrating into the sub grade. Basically, preventing the chance of settlement on the patio.
Flexible sub base DTP Type 1 granular sub base at a depth of 100 to 150mm again depending on ground condition. Compacted with a compactor plate or vibrating roller in 2 layers (half the depth of the stone or 75mm as rule of thumb.
Rigid sub base should be a lean mix at a depth of around 100mm. Exchanging the geotextile for DPM at this stage.
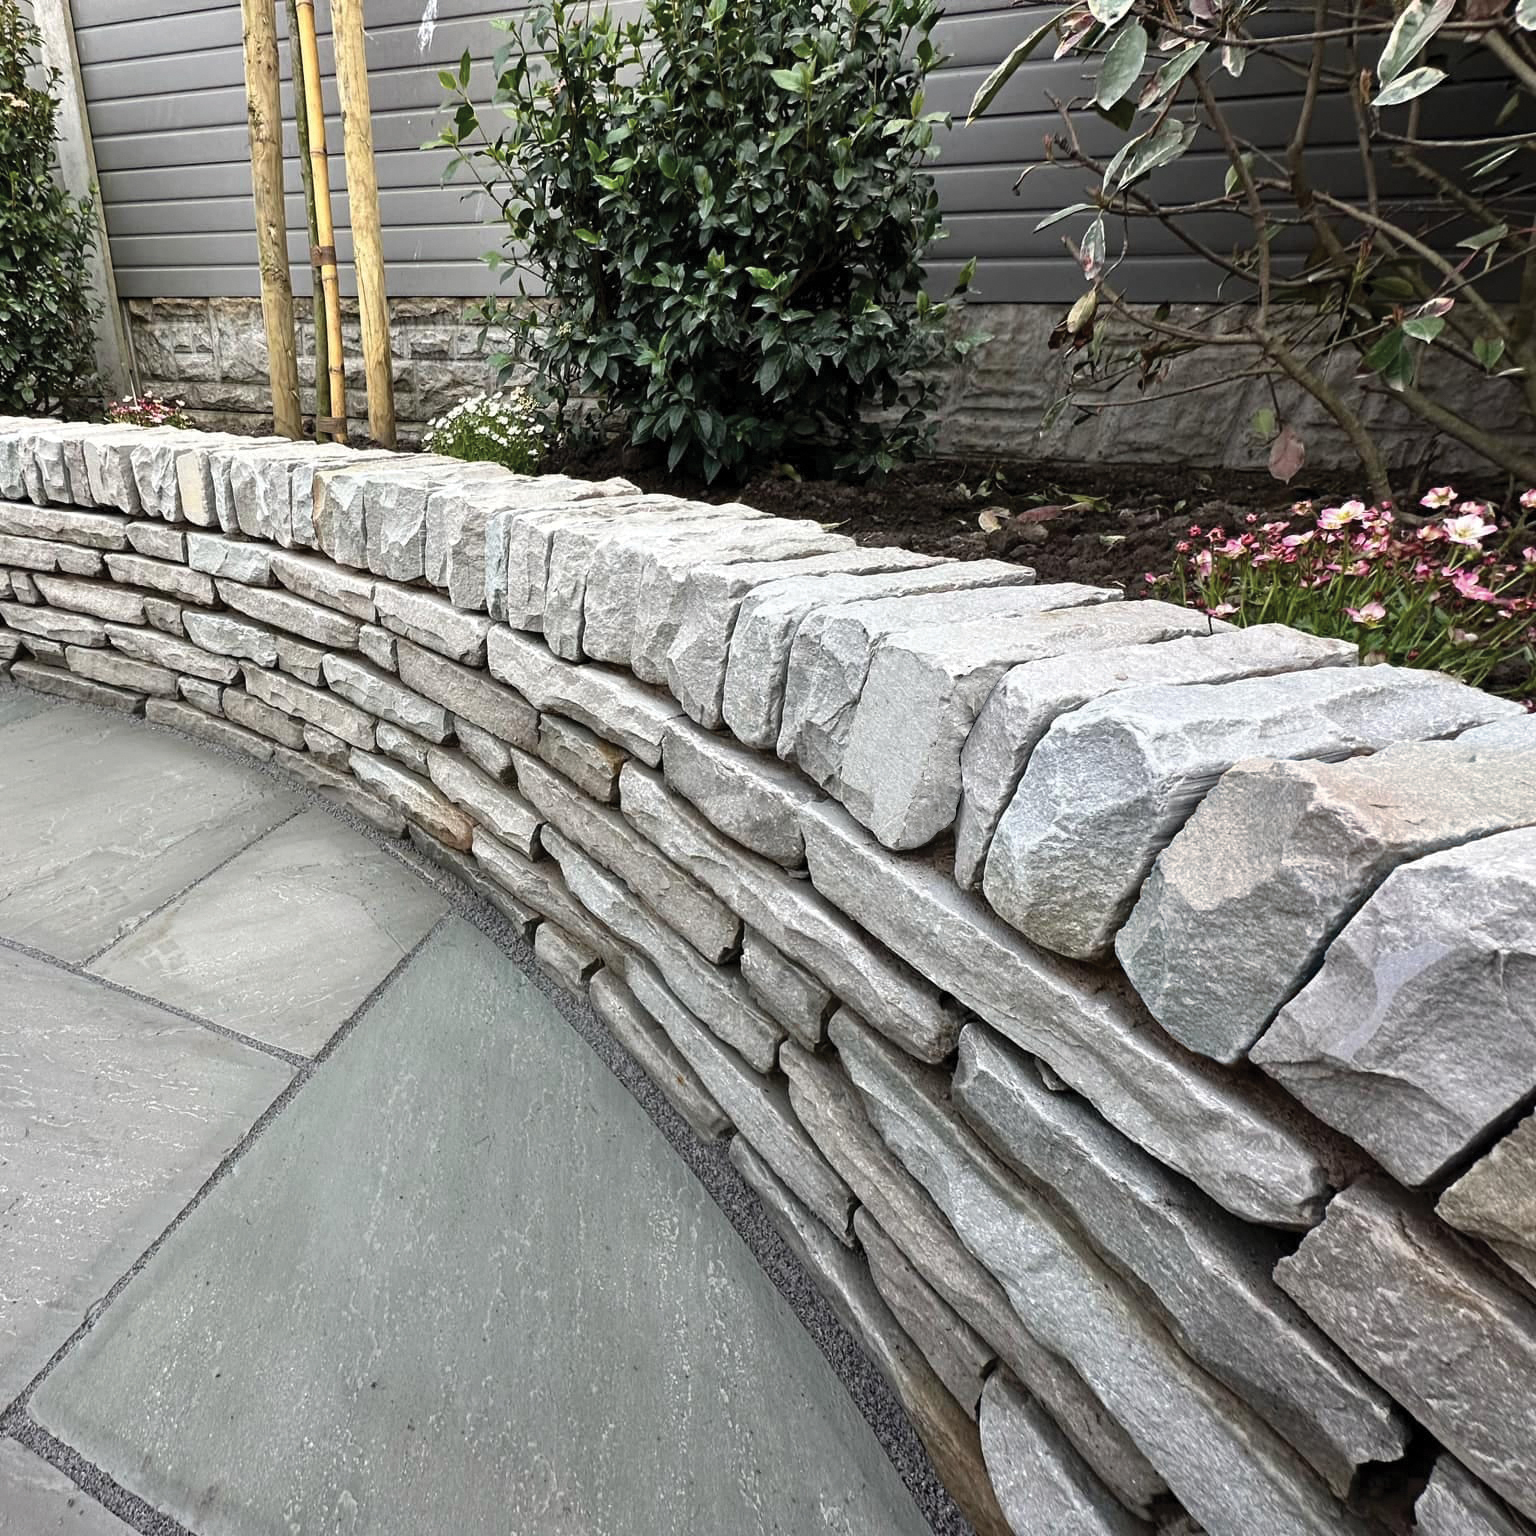
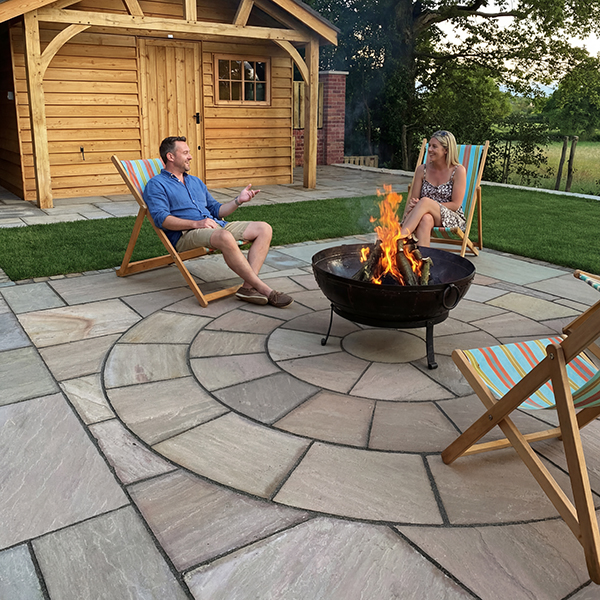
Bedding - Laying Natural Stone Paving
Full wet bed: Best practice on type 1 subbase
This procedure consists of placing the natural stone flags onto a levelled-out bed of standard sand/cement mortar, prepared to a wet consistency.
The mortar bed needs to be a 6:1 or stronger mix of grit sand with cement depth of 20mm to 40mm thick. It is very much the same as laying porcelain. A primer should be applied to the underside of the slabs prior to placement to ensure full adhesion between paving and mortar bed.
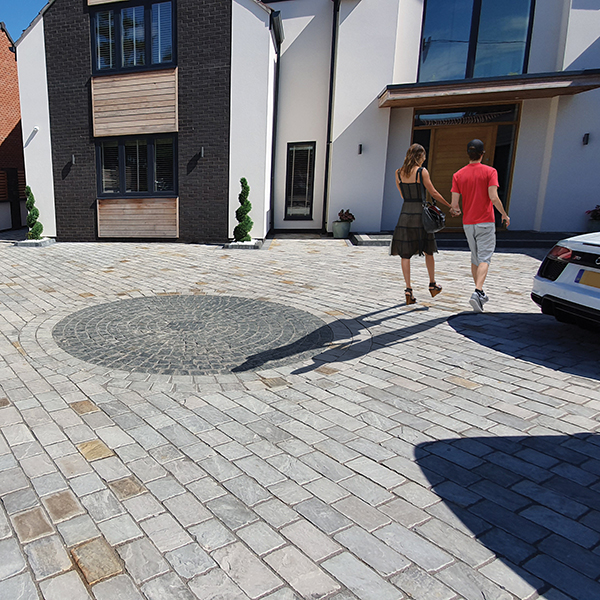
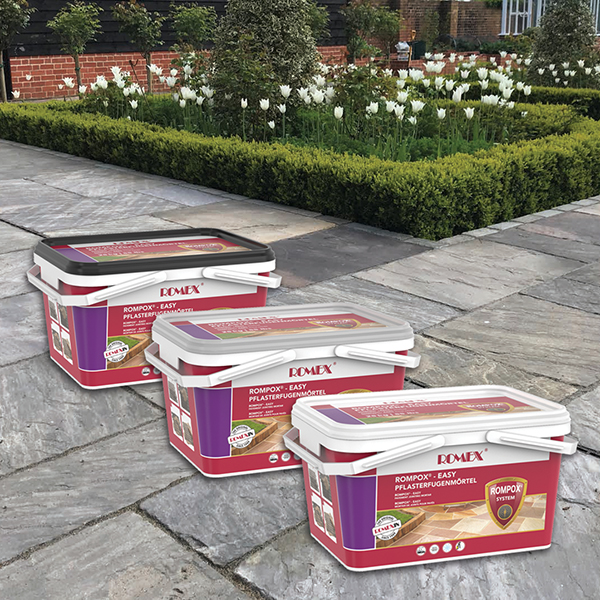
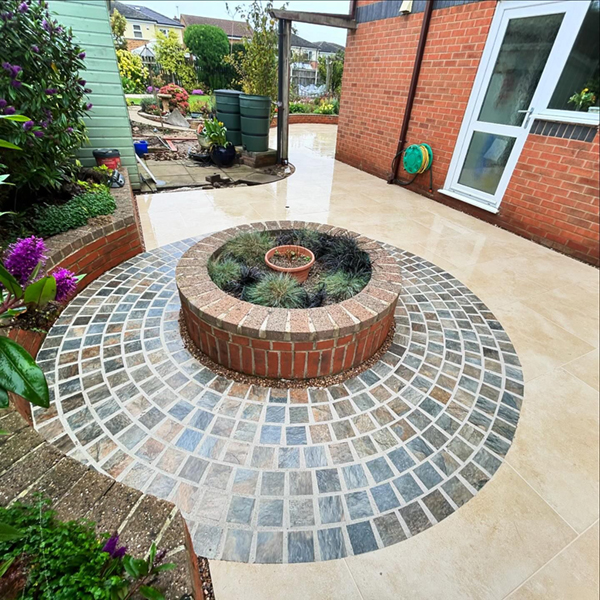
Patio Jointing
We recommend a porous jointing compound for a permeable subbase like Rompox or Rompox Easy, which is popular for its ease of use. For rigid subbase installs we recommend a non-porous jointing option like Flowpoint which requires an experienced installer due to the more complex nature of the product. Every effort must be made to keep the paving clean and free of muck transfer from boots, tools and machinery.
This can be achieved by using lots of clean water and taking time to clean up all surplus resin off on completion of the installation. 1 part jointing like Rompox is the fastest, cleanest and most user friendly form of jointing and becoming a favourite with contractors across the UK.
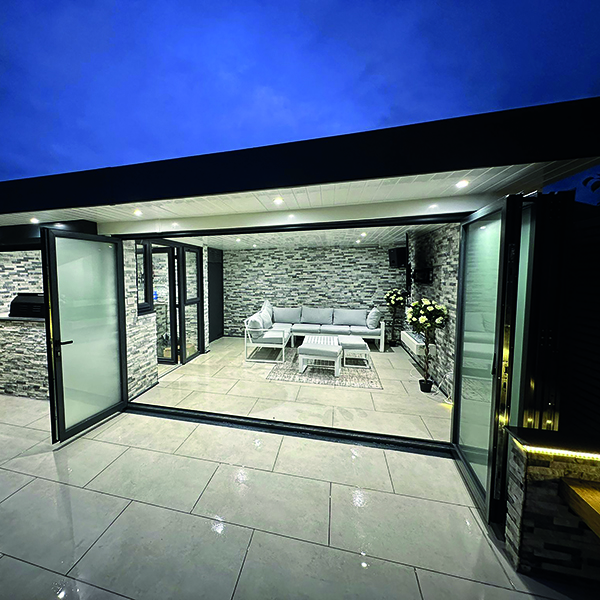
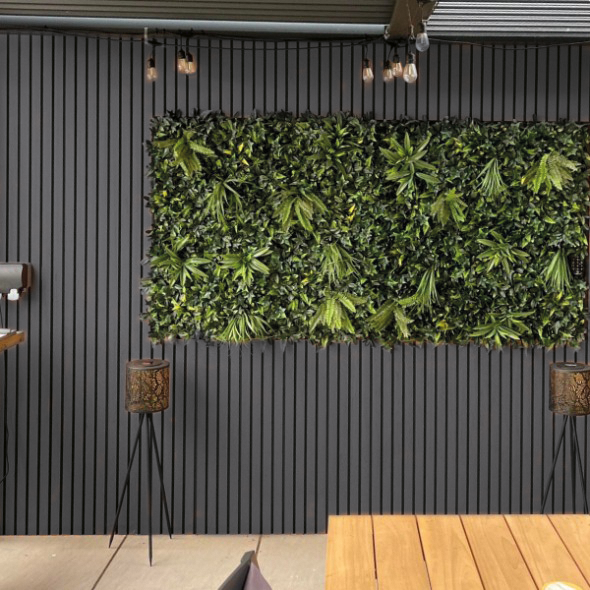
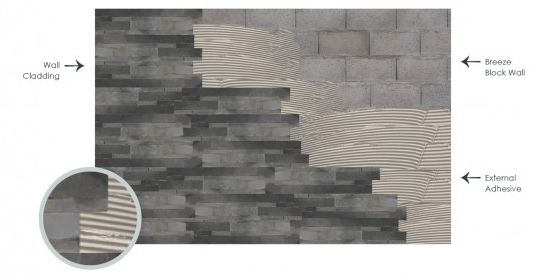
Wall Cladding Installation Quick Guide
Quick Tips
Prime wall prior to installation
Re-cover tired looking exterior walls
Lightweight and simple to install
Incredibly easy to maintain
To ensure the end result matches your vision, make sure you use the right tools for the job such as a power drill with mixing attachment, bucket for mixing and trowel to spread external adhesive evenly across the wall.


.jpg)