Installation Instructions:
Installing Paving Slabs
Below we keep the same sequence you supplied, noting where porcelain and natural stone diverge (PSD 2025 guides • BS 7533-102).
- Good planning & drainage: surface ≥ 150 mm below any DPC; fall 1 : 60 (≈ 17 mm / m).
- Utilities check: mark cables, gas & water before digging.
- Patios/paths: dig for 100 mm Type 1 + 30-40 mm mortar + slab thickness (≈ 150 mm).
- Driveways / wet ground: allow 200 mm for the sub-base.
- Over-cut 150-200 mm for working room; lay & compact the sub-base.
- Poor soils: non-woven membrane, then Type 1 in ≤ 70 mm lifts (5 plate-compactor passes each lift).
- Set concrete-haunched edge restraints before bedding.
Prepare the full-bed mortar (laying course)
| Material | Mix | Compacted thickness | Notes |
|---|
| Porcelain |
4 : 1 sharp sand / crushed-rock fines : OPC |
30–40 mm |
Flat bed; no trowel furrows; workable ≤ 2 h |
| Natural stone |
Same 4 : 1 (avoid builders’ sand); use 0–6 mm crushed rock |
30–40 mm |
Full contact; no spot-/ring-bedding (avoids reflective staining) |
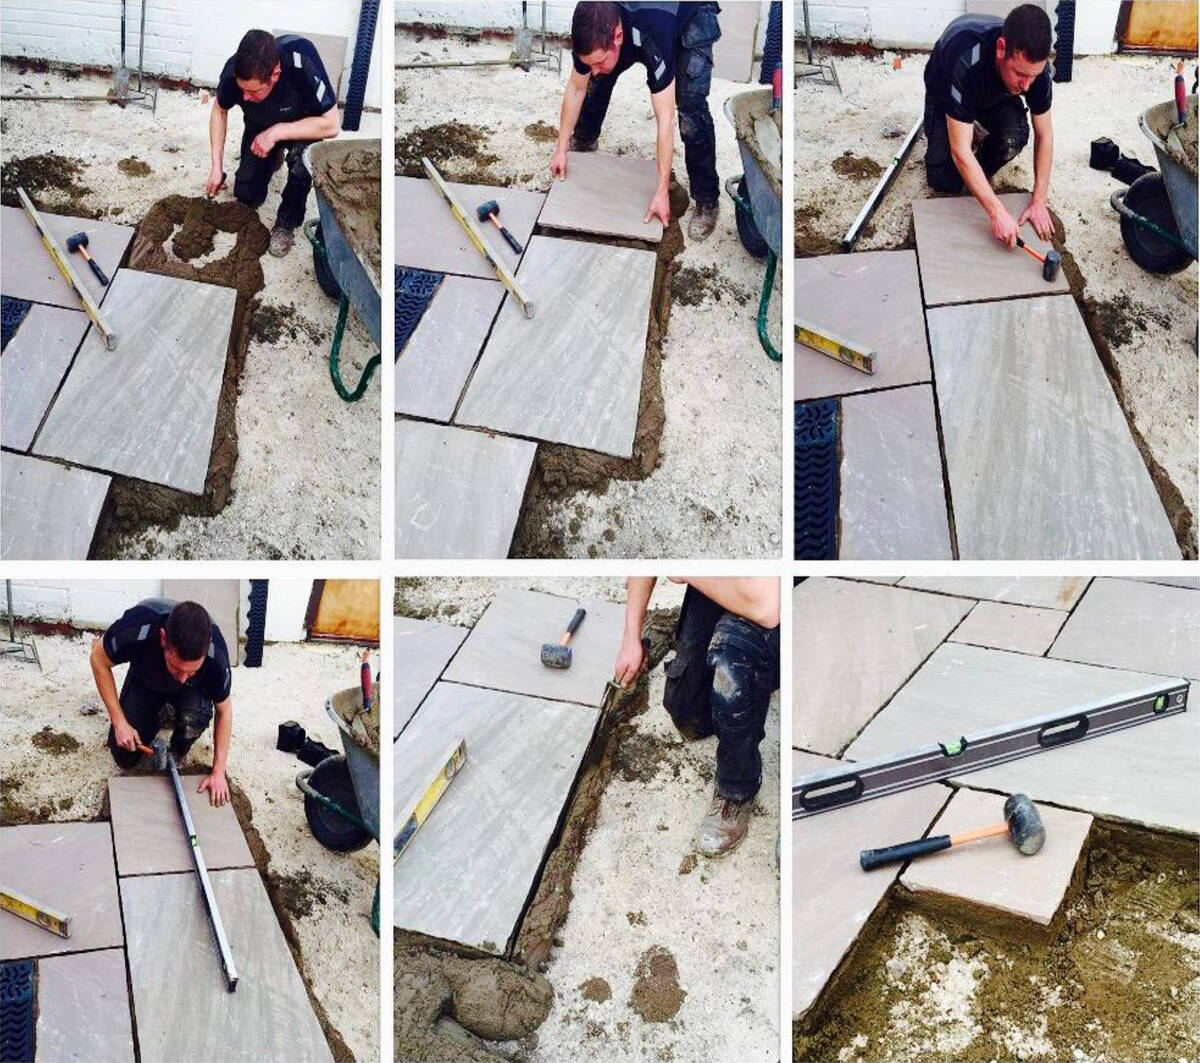
- Prime the slabs: Porcelain: 2-3 mm bonding slurry on back just before laying. Natural stone: SBR primer / SBR-slurry for adhesion & moisture control.
- Lay the slabs: Tap home with a rubber mallet. Joint width — Porcelain 5 mm spacers; Natural stone 10-15 mm. Check levels often; BS 7533 lipping < 2 mm.
- Clean as you go: wipe fresh mortar with clean water – never acid cleaners.
- Curing: foot traffic 24 h; heavy loads 48 h.
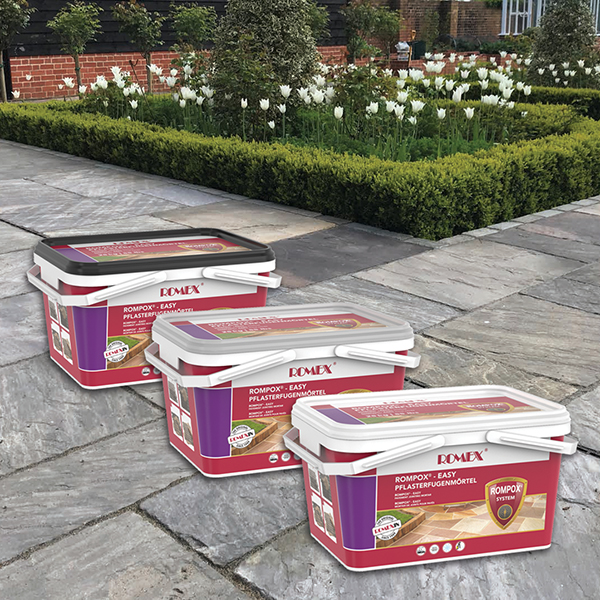
- Jointing / Grouting Bed must firm first; joints ≥ 20 mm deep. Use resin/polymeric compound; respect manufacturer’s limits.
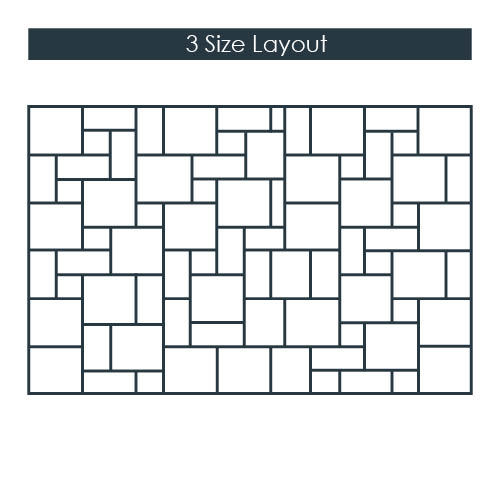
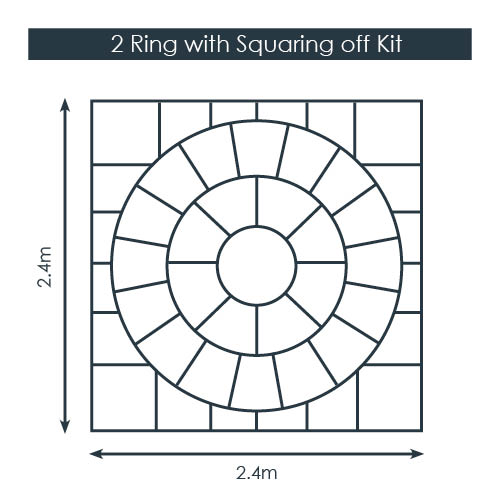
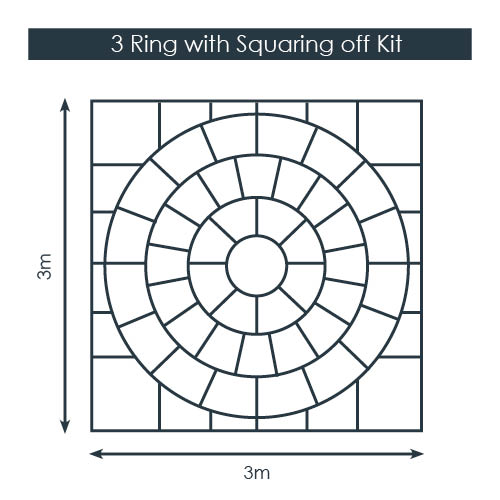
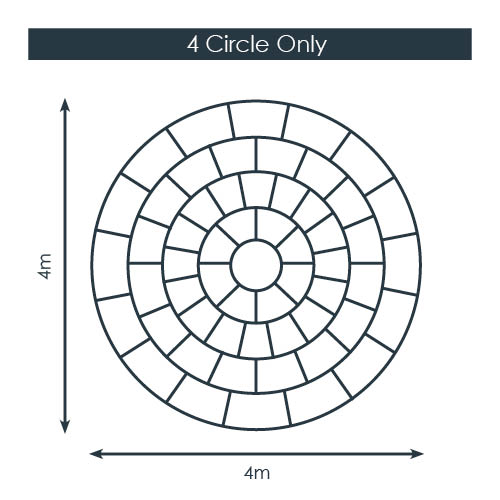
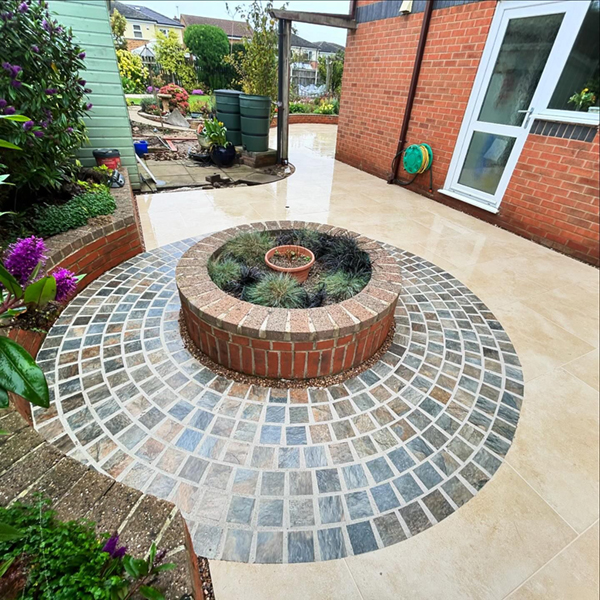
- Circles & Insets: start at centre; set circles first if part of a larger patio.
Quick reference – key differences
| Stage | Porcelain | Natural stone |
|---|
| Primer |
Bonding slurry 2-3 mm
(PSD Porcelain Guide) |
SBR slurry / primer
(PSD Natural-Stone Guide) |
| Joint width |
Exactly 5 mm (spacers) |
10-15 mm; no cross-joints on random layouts |
| Cutting |
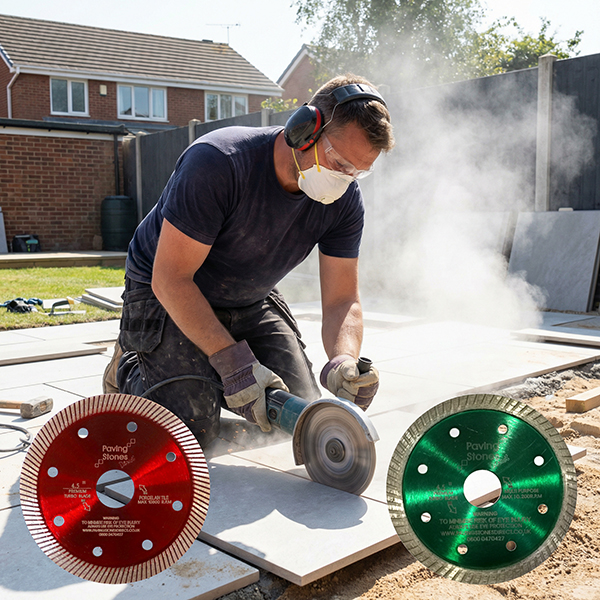
Continuous-rim diamond blade, wet-cut |
Standard masonry blade |
| Sealing |
Optional – porcelain is non-porous |
Consider after 3-6 months to resist stains |
Laying Block Paving
Sequence mirrors BS 7533 good-practice. Notes highlight where porcelain and natural-stone blocks differ (both 50 mm thick).
- Plan & set-out: finish ≥ 150 mm below any DPC; design falls 1 : 60 (~17 mm / m).
- Excavate: 200–250 mm below finished level for domestic driveways, plus 150–200 mm beyond edges for restraints.
- Sub-base: 100–150 mm MOT Type 1 (crushed hardcore) laid beyond the block line; compact in ≤ 75 mm lifts with a vibrating plate.
- Edge restraints: install kerbs/blocks on a concrete bed to create a rigid border before bedding the paving.
Bedding layer
| Material | Mix | Compacted thickness | Notes |
|---|
Porcelain blocks
(50 mm) |
4 : 1 sharp-sand / cement mortar (bound system) |
35 – 40 mm |
Full support; prime undersides with bonding slurry before laying |
Natural-stone setts
(50 mm) |
Grit (sharp) sand – unbound |
25 – 40 mm (after compaction) |
Flexible bedding; moisture-balanced sand aids interlock |
- Lay the blocks: Porcelain: bed onto mortar, keep 5 mm joints, align with string lines. Natural stone: place blocks tight-jointed (no gaps), stagger bonds for strength.
- Joint & compact: Porcelain: fill 5 mm joints with flowable grout or resin; compact using a roller or plate fitted with a rubber mat. Natural stone: sweep kiln-dried sand into joints, vibrate with a rubber-matted plate, top-up and re-vibrate until joints stay full.
- Cleaning & after-care Sweep regularly; rinse surface dirt with clean water. Avoid acid-based cleaners: they can bleach natural stone, attack cement joints and strip porcelain’s vitrified surface. Use pH-neutral patio cleaners or manufacturer-approved products instead.
Quick reference – key differences
| Stage | Porcelain blocks | Natural-stone setts |
|---|
| Typical block thickness |
50 mm |
50 mm |
| Bedding |
Bound mortar bed (35–40 mm) + slurry primer |
Unbound grit-sand bed (25–40 mm compacted) |
| Jointing |
Flowable grout / resin, 5 mm |
Kiln-dried sand, 2–3 mm |
| Final compaction |
Roller or padded plate (low amplitude) |
Standard vibrating plate with rubber mat |
Note: If you are ordering more than 1 pack of any natural stone product for your project, it is advised to mix the packs together. This is due to the natural deviation found in natural stone so doing this allows for a much better blend of the tones and colours.
These guide lines are informative only and not comprehensive. For more detailed information please visit www.pavingexpert.com and www.paving.org.uk


.jpg)