0333 321 5091
01909 768 760
Mon - Fri 7:00 AM - 5:00 PM
Sat 8:00 AM - 2:00 PM

We Deliver
Nationwide
0333 321 5091
01909 768 760
Mon - Fri 7:00 AM - 5:00 PM
Sat 8:00 AM - 2:00 PM

We Deliver
Nationwide
 NEW FOR 2026
  WINTER SALE
  CLEARANCE SALE
  INDOOR TILES
  PORCELAIN PAVING
  SANDSTONE PAVING
  LIMESTONE PAVING
 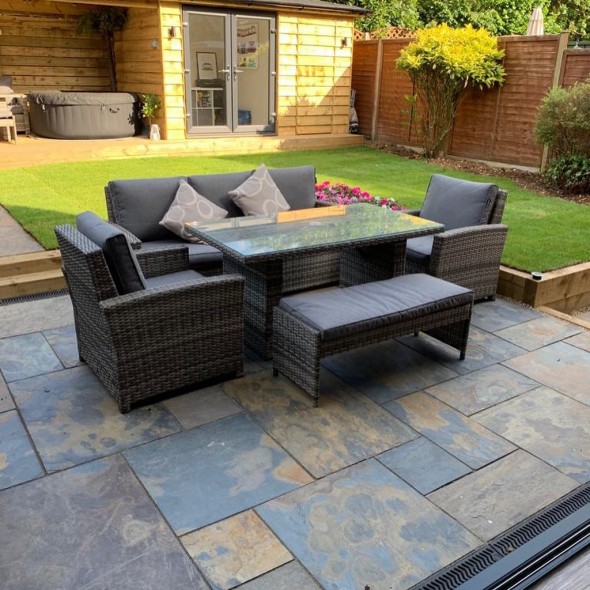 SLATE PAVING SLABS
  GRANITE PAVING
  TEXTURED FINISH PAVING
 .jpg) SMOOTH FINISH STONE PAVING
SMOOTH FINISH STONE PAVING  RIVEN FINISH PAVING
 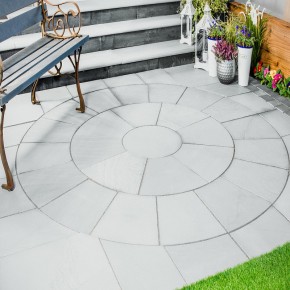 STONE CIRCLE KITS
 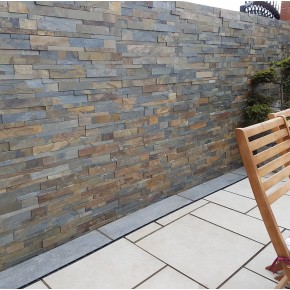 STONE WALL CLADDING
 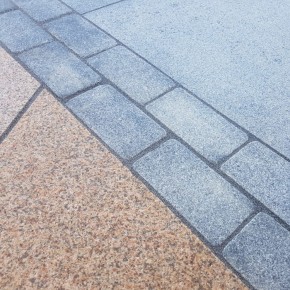 COBBLES & EDGING
 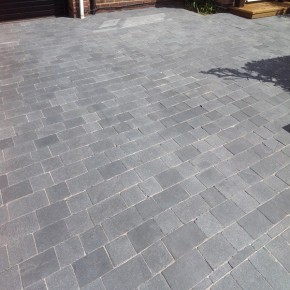 DRIVEWAY BLOCK PAVING
 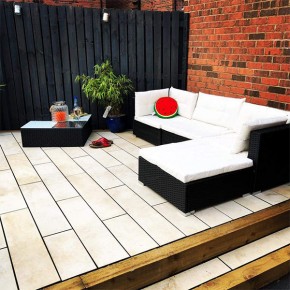 LINEAR PAVING
 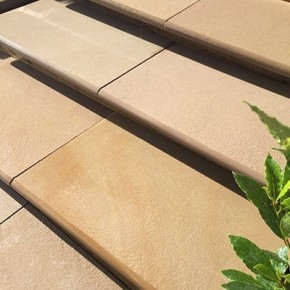 BULLNOSE STEPS
 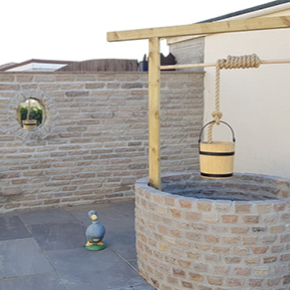 WALLING & COPING STONES
 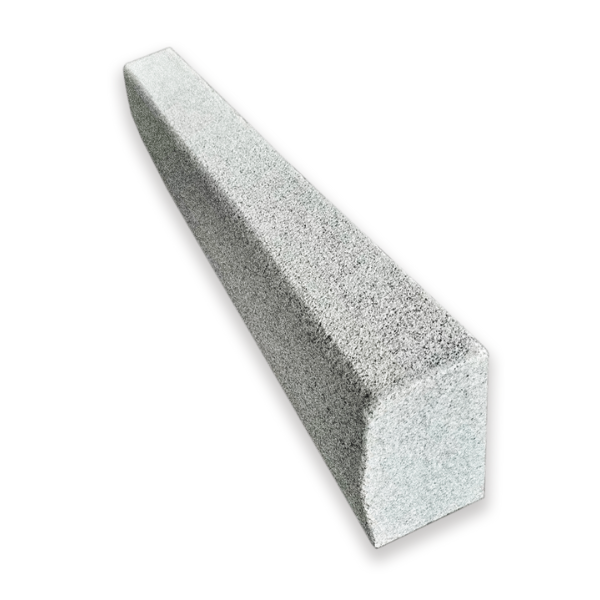 GRANITE KERBS
 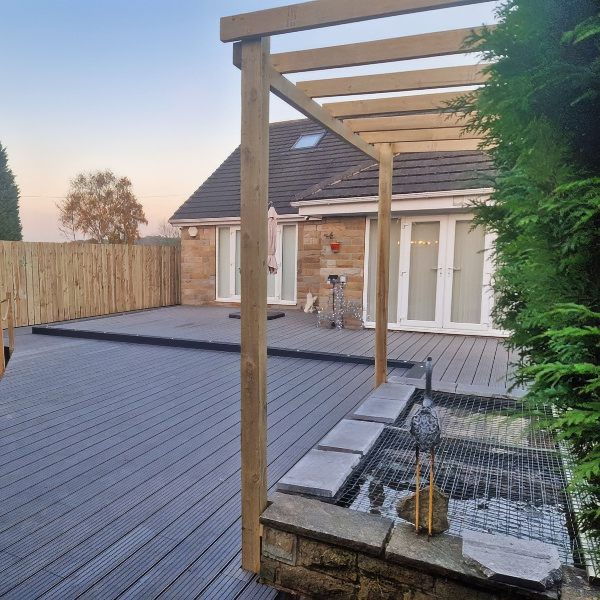 COMPOSITE DECKING
 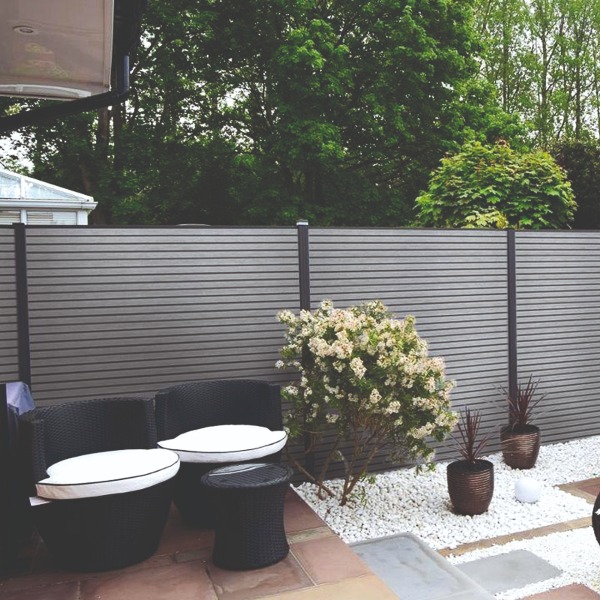 COMPOSITE FENCING
 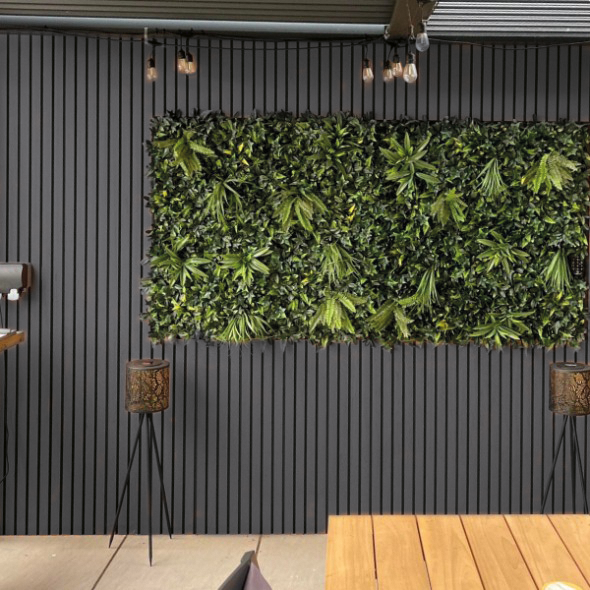 COMPOSITE CLADDING
 .png) COMPOSITE TRELLIS
COMPOSITE TRELLIS .png) COMPOSITE GATES
COMPOSITE GATES  SLEEPERS
  ARTIFICIAL GRASS
  ALUMINIUM PERGOLA
  SLATE ROOF TILES
  WATER BLADES & FEATURES
  DRAINAGE SYSTEMS
  ACCESSORIES
  GROUT JOINTING PRIMER
 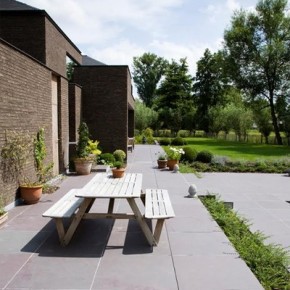 AFTERCARE PRODUCTS
  SAMPLES
 Take a look at our available How To Guides & Videos to help you with your paving stones installation and maintenance, ensuring the best possible finish for your product.
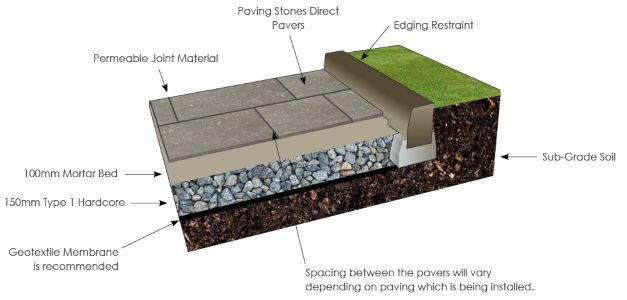
Full wet bed: best practice on type 1 subbase
Thin bed adhesive: best practice on concrete.
A primer should be applied to the underside of the tiles prior to placement, to ensure there is full adhesion between paving and bed. Tile spacers are a must in keeping the paving uniform.
It is best practice to open all of the packs being used for a project before yourself or landscaper starts laying the paving, this therefore ensures all the colours can be blended in naturally to create a beautiful patio. All products may have slight colour variations with tones and patterns. Porcelain batches may vary so please ensure all goods are from the same batch prior to laying.
Ground preparations for natural stone and porcelain paving are almost identical. Construction components consists of:
Sometimes overlooked on its importance but choosing the correct sub base is essential in how the patio will perform later on. Geotextile should be rolled out over the area of the patio and cut to the cover the total area. A misconception is that it’s main function is to prevent weed growth. But its main purpose is to stop the sub base migrating into the sub grade. Basically, preventing the chance of settlement on the patio.
Full wet bed: Best practice on type 1 subbase
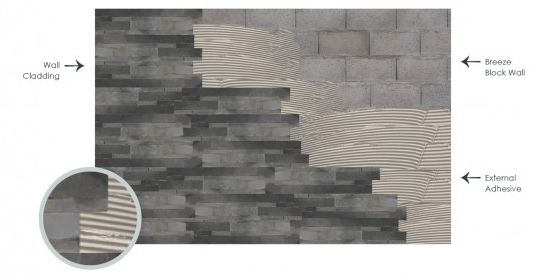
To ensure the end result matches your vision, make sure you use the right tools for the job such as a power drill with mixing attachment, bucket for mixing and trowel to spread external adhesive evenly across the wall.
Paving Stones Direct UK Ltd, supplies high quality, globally sourced Vitrified Porcelain Paving and Natural Stone Paving Slabs. We are the direct importers of Porcelain and Natural Stone Paving products to provide cost effective yet high quality products to home owners and contractors.
Try Our Laying Guide