Installation Instructions:
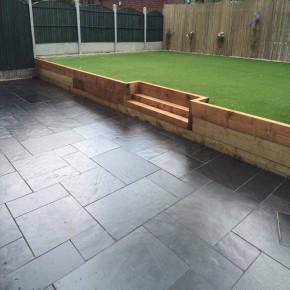
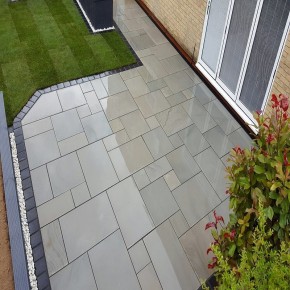
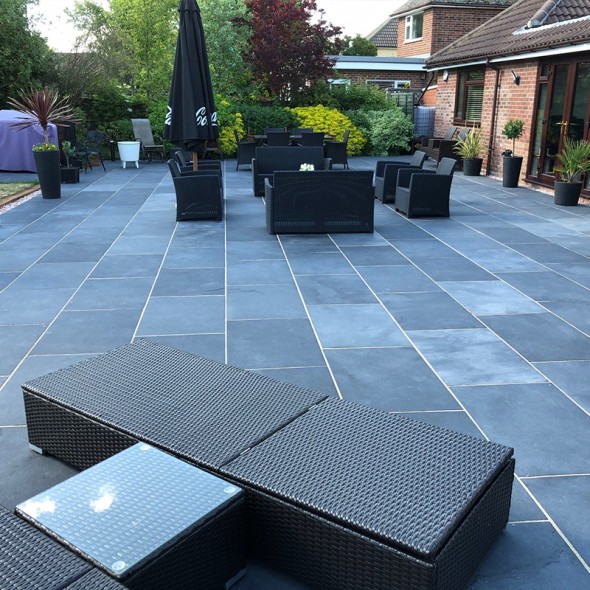
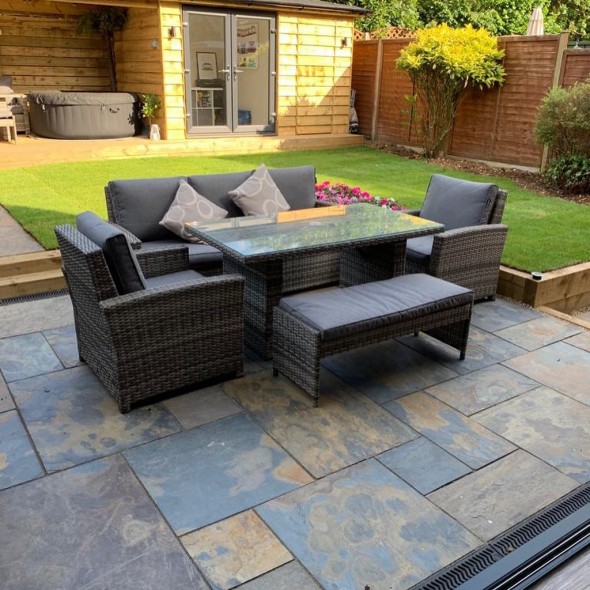
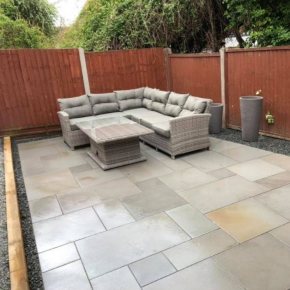
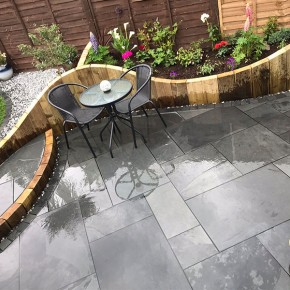
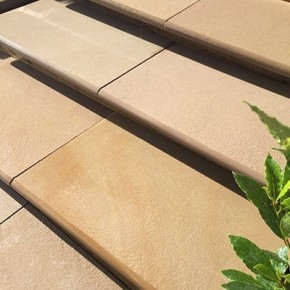
Installing Paving Slabs
Below we keep the same sequence you supplied, noting where porcelain and natural stone diverge (PSD 2025 guides • BS 7533-102).
- Good planning & drainage: surface ≥ 150 mm below any DPC; fall 1 : 60 (≈ 17 mm / m).
- Utilities check: mark cables, gas & water before digging.
- Patios/paths: dig for 100 mm Type 1 + 30-40 mm mortar + slab thickness (≈ 150 mm).
- Driveways / wet ground: allow 200 mm for the sub-base.
- Over-cut 150-200 mm for working room; lay & compact the sub-base.
- Poor soils: non-woven membrane, then Type 1 in ≤ 70 mm lifts (5 plate-compactor passes each lift).
- Set concrete-haunched edge restraints before bedding.
Prepare the full-bed mortar (laying course)
| Material | Mix | Compacted thickness | Notes |
|---|
| Porcelain |
4 : 1 sharp sand / crushed-rock fines : OPC |
30–40 mm |
Flat bed; no trowel furrows; workable ≤ 2 h |
| Natural stone |
Same 4 : 1 (avoid builders’ sand); use 0–6 mm crushed rock |
30–40 mm |
Full contact; no spot-/ring-bedding (avoids reflective staining) |
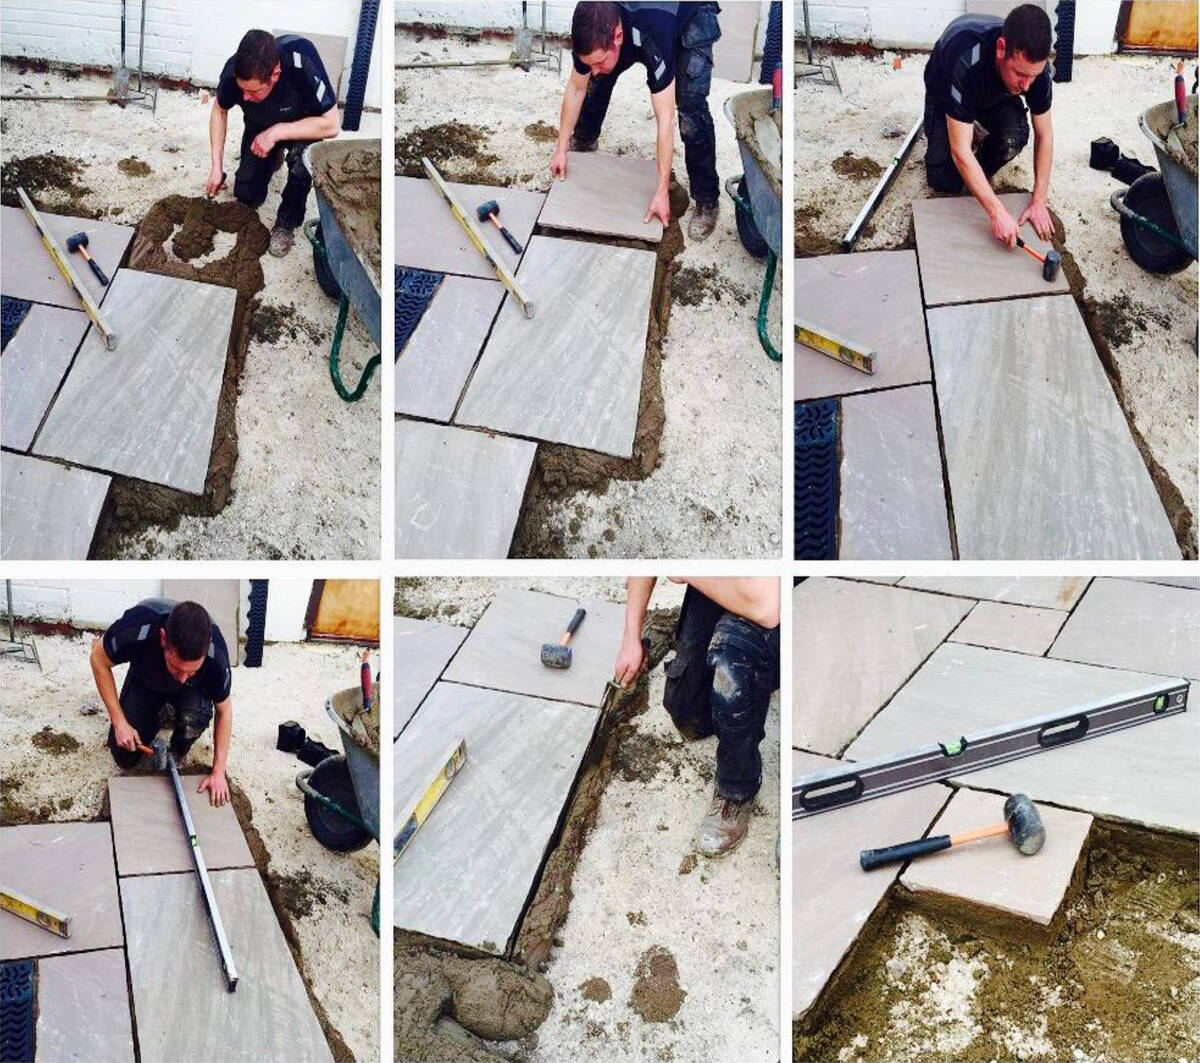
- Prime the slabs: Porcelain: 2-3 mm bonding slurry on back just before laying. Natural stone: SBR primer / SBR-slurry for adhesion & moisture control.
- Lay the slabs: Tap home with a rubber mallet. Joint width — Porcelain 5 mm spacers; Natural stone 10-15 mm. Check levels often; BS 7533 lipping < 2 mm.
- Clean as you go: wipe fresh mortar with clean water – never acid cleaners.
- Curing: foot traffic 24 h; heavy loads 48 h.
- Jointing / Grouting Bed must firm first; joints ≥ 20 mm deep. Use resin/polymeric compound; respect manufacturer’s limits.
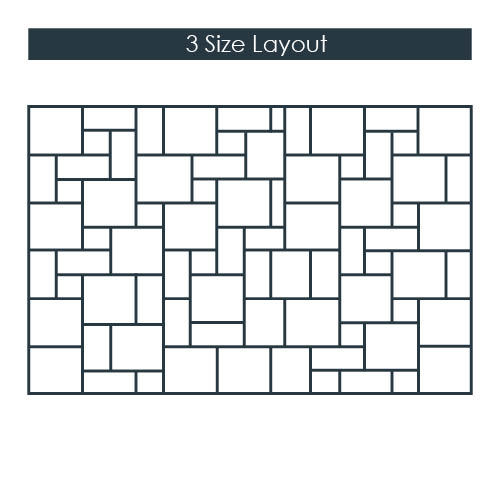
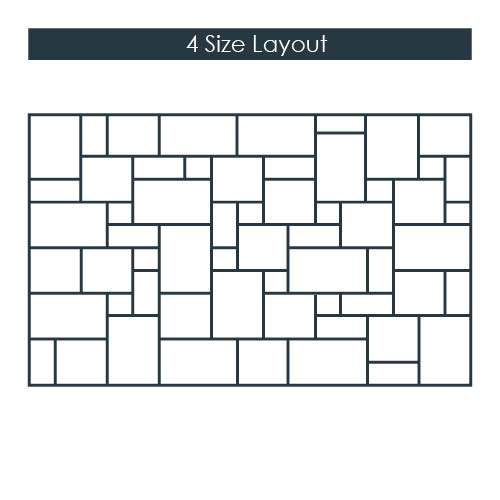
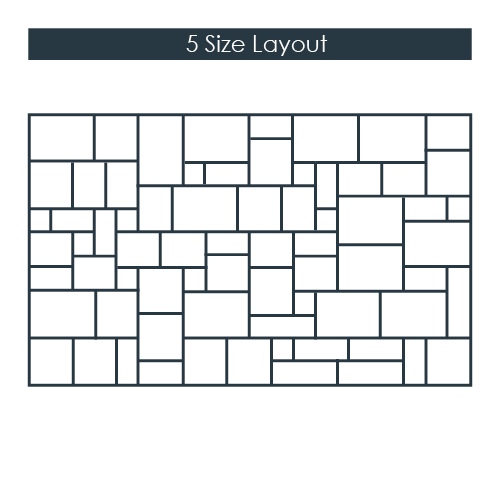
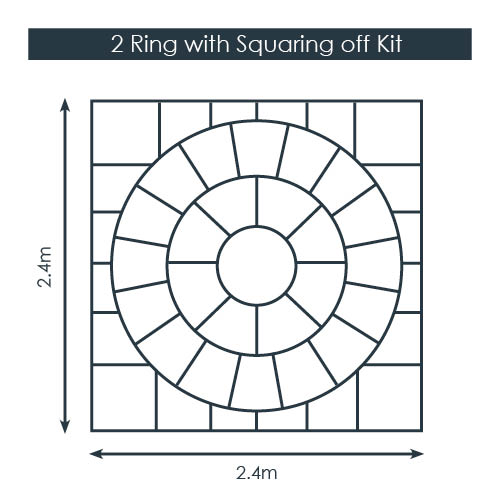
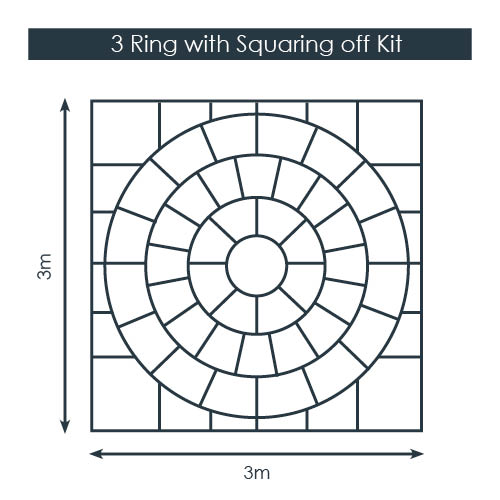
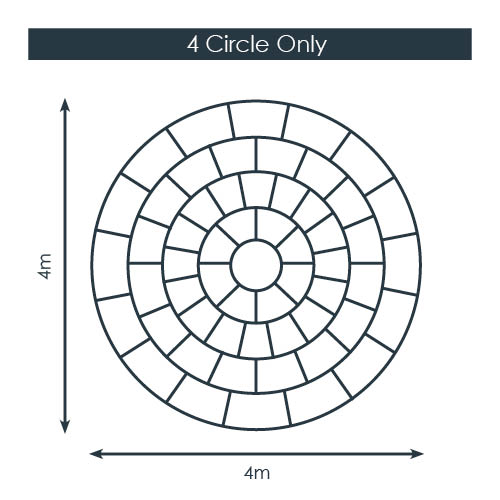
- Circles & Insets: start at centre; set circles first if part of a larger patio.
Quick reference – key differences
| Stage | Porcelain | Natural stone |
|---|
| Primer |
Bonding slurry 2-3 mm
(PSD Porcelain Guide) |
SBR slurry / primer
(PSD Natural-Stone Guide) |
| Joint width |
Exactly 5 mm (spacers) |
10-15 mm; no cross-joints on random layouts |
| Cutting |
Continuous-rim diamond blade, wet-cut |
Standard masonry blade |
| Sealing |
Optional – porcelain is non-porous |
Consider after 3-6 months to resist stains |
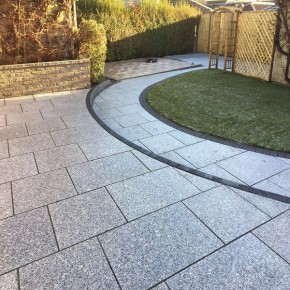
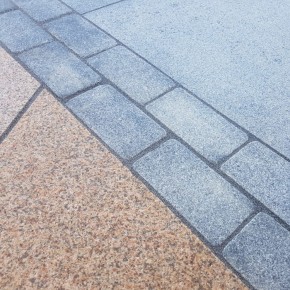
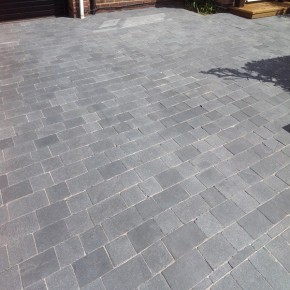
Laying Block Paving
Sequence mirrors BS 7533 good-practice. Notes highlight where porcelain and natural-stone blocks differ (both 50 mm thick).
- Plan & set-out: finish ≥ 150 mm below any DPC; design falls 1 : 60 (~17 mm / m).
- Excavate: 200–250 mm below finished level for domestic driveways, plus 150–200 mm beyond edges for restraints.
- Sub-base: 100–150 mm MOT Type 1 (crushed hardcore) laid beyond the block line; compact in ≤ 75 mm lifts with a vibrating plate.
- Edge restraints: install kerbs/blocks on a concrete bed to create a rigid border before bedding the paving.
Bedding layer
| Material | Mix | Compacted thickness | Notes |
|---|
Porcelain blocks
(50 mm) |
4 : 1 sharp-sand / cement mortar (bound system) |
35 – 40 mm |
Full support; prime undersides with bonding slurry before laying |
Natural-stone setts
(50 mm) |
Grit (sharp) sand – unbound |
25 – 40 mm (after compaction) |
Flexible bedding; moisture-balanced sand aids interlock |
- Lay the blocks: Porcelain: bed onto mortar, keep 5 mm joints, align with string lines. Natural stone: place blocks tight-jointed (no gaps), stagger bonds for strength.
- Joint & compact: Porcelain: fill 5 mm joints with flowable grout or resin; compact using a roller or plate fitted with a rubber mat. Natural stone: sweep kiln-dried sand into joints, vibrate with a rubber-matted plate, top-up and re-vibrate until joints stay full.
- Cleaning & after-care Sweep regularly; rinse surface dirt with clean water. Avoid acid-based cleaners: they can bleach natural stone, attack cement joints and strip porcelain’s vitrified surface. Use pH-neutral patio cleaners or manufacturer-approved products instead.
Quick reference – key differences
| Stage | Porcelain blocks | Natural-stone setts |
|---|
| Typical block thickness |
50 mm |
50 mm |
| Bedding |
Bound mortar bed (35–40 mm) + slurry primer |
Unbound grit-sand bed (25–40 mm compacted) |
| Jointing |
Flowable grout / resin, 5 mm |
Kiln-dried sand, 2–3 mm |
| Final compaction |
Roller or padded plate (low amplitude) |
Standard vibrating plate with rubber mat |
These guide lines are informative only and not comprehensive. For more detailed information please visit www.pavingexpert.com and www.paving.org.uk

.png)


.jpg)

.png)
.png)